
Starting a garden is a rewarding journey. It turns a simple patch of dirt into a colorful display. Learning how to grow flowers from seeds successfully lets you see nature’s miracle in your backyard. It rewards your patience with beautiful blooms.
Preparation is key in your gardening adventure. A structured approach ensures high germination rates and healthy plants. Watching those first tiny sprouts emerge is joyful.
Embrace the process. Stay consistent with your care. Prepare to enjoy a stunning landscape that shows your hard work and dedication.
Understanding the Basics of Seed Starting
Starting to grow your own flowers is exciting. It begins long before you plant anything. Learning these basics helps you grow a beautiful garden. These flower gardening tips will guide you all season.
Why Start Flowers from Seeds?
Starting flowers from seeds is very rewarding. You can’t get this feeling from buying plants. You get to pick from many unique species and colors.
It’s also very cost-effective. A packet of seeds is cheaper than one plant. But, it can grow dozens of flowers. Your garden will grow and pay off your investment.
Determining Your Hardiness Zone
First, you need to know your local climate. The USDA has a hardiness zone map. It shows different areas based on winter temperatures. This is key for picking the right plants.
You can find the hardiness zone map online. It tells you when to start seeds indoors or outside. Planting at the right time helps your flowers grow well.
Essential Tools and Supplies for Your Garden
Starting seeds indoors needs the right tools. The right equipment keeps your space clean. It also helps your plants grow well.
Choosing the Right Seed Trays and Pots
There are many containers to choose from when starting. Look for trays with adequate drainage holes at the bottom. This stops water from harming the roots.
Plastic cell trays are good because they last long and are easy to clean. You might also like biodegradable pots. They let you move the whole pot into the soil, which is good for the roots.
Selecting High-Quality Seed Starting Mix
The right mix is key to your success. Always pick the best seed starting mix. It should be light and clean.
This mix is different from regular garden soil. It lets air in and holds moisture well. This is crucial for seeds to grow without getting sick.
Must-Have Accessories: Labels, Misters, and Heat Mats
Some organic gardening supplies are essential. A heat mat helps seeds grow faster by keeping the bottom warm.
Use a fine-mist spray bottle to keep the soil moist. This helps seeds without washing them away. Always label your plants with waterproof labels. This keeps you organized all season.
Selecting the Right Seeds for Your Climate
Your garden journey starts with the right seeds for your area. Use a hardiness zone map to find the best plants. This step keeps your garden healthy all season.
Understanding Annuals versus Perennials
Know the difference between annuals and perennials for a good garden plan. Annuals bloom once and then die. Perennials come back every year, with strong roots that make it through winter.
| Feature | Annuals | Perennials |
|---|---|---|
| Life Span | One Season | Multiple Years |
| Bloom Time | Prolific/Constant | Seasonal/Short |
| Maintenance | High replanting | Low after establishment |
Reading Seed Packets for Success
Seed packets have important info for growing success. Look for seed packet instructions on planting depth and spacing. These tips help your plants grow well.
«The garden is a teacher that rewards patience and careful planning.»
Check the planting dates on the packet. Following these seed packet instructions keeps your plants safe from cold. This is key for young seedlings.
Sourcing Seeds from Reputable Suppliers
Quality seeds come from trusted sources. Reputable companies offer seeds that grow well and resist disease. Choosing quality seeds gives your garden a strong start.
Preparing Your Growing Medium and Containers
Getting your containers and soil ready is key to stopping plant diseases. A little extra effort makes a big difference. It helps your seeds grow strong and healthy.
Sanitizing Your Equipment
Pots might look clean but can still have bad stuff. Always wash them with soap or bleach to kill germs. Using organic gardening supplies means getting pots that are easy to clean.
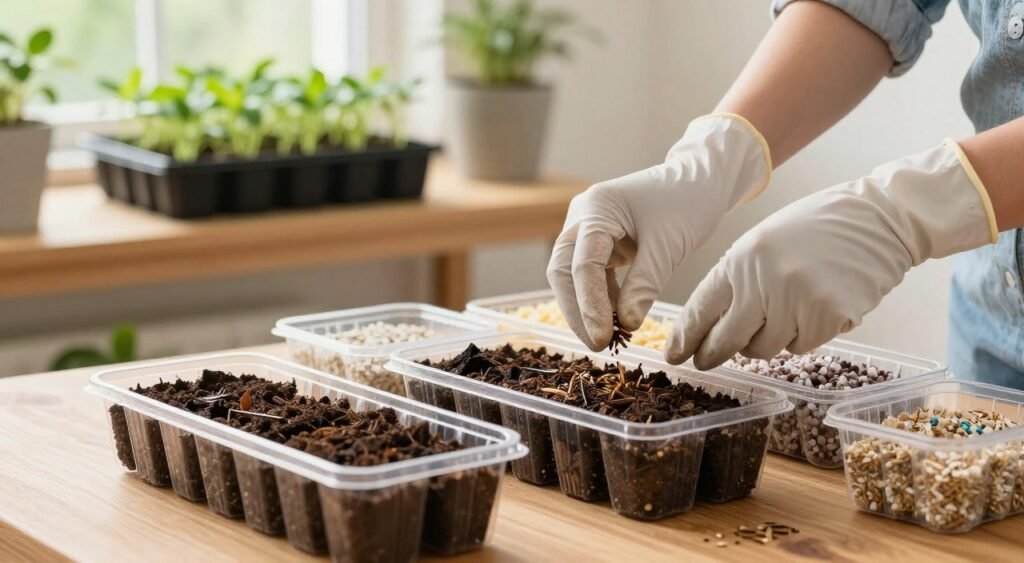
Moistening the Soil Before Planting
Don’t wait to water after planting. Soak your best seed starting mix in a bucket first. This makes sure the soil is right for your seeds.
Soil should be like a sponge that’s not too wet or dry. This is a secret tip for keeping your plants hydrated.
Filling Containers for Optimal Root Growth
Don’t pack the soil too hard in your pots. You want it to be soft for roots to grow. Tap the pot gently to settle the soil, then add a bit more.
Rightly filled pots help your plants grow strong. These steps are the start of a beautiful garden.
How to Grow Flowers from Seeds Successfully: The Sowing Process
Learning how to grow flowers from seeds successfully starts with where you put your seeds. Each seed type needs something special. Paying attention to the soil helps your plants grow well.
Determining Planting Depth for Different Varieties
First, check the seed packet instructions. They tell you how deep to plant your seeds. Some seeds need dark to grow, while others need light.
Plant seeds about two to three times their size deep. If you plant too deep, they might run out of energy. Planting too shallow can dry them out before they grow.
Surface Sowing Tiny Seeds
Some seeds are very small and can get lost if buried. These seeds grow best on the surface. Just sprinkle them on top of moist soil.
Use a small piece of cardboard to spread them out. Press them down very lightly with your fingers. Don’t cover them with soil, as it can stop them from growing.
Covering Seeds with Vermiculite or Soil
For bigger seeds, cover them with a thin layer of soil or vermiculite. Vermiculite keeps moisture in and is easy for sprouts to grow through. It also stops algae from growing.
If using soil, make sure it’s fine so it doesn’t block the seedlings. Mist the surface with water to keep everything moist and in place.
| Seed Size | Sowing Method | Light Requirement |
|---|---|---|
| Tiny/Dust-like | Surface sow | Needs light |
| Medium | Lightly covered | Variable |
| Large | Deeply buried | Darkness |
Managing Light, Temperature, and Moisture
Creating the perfect indoor climate is key to growing plants from seeds. When starting seeds indoors, the environment is crucial. It sets the stage for their health.
By balancing light, temperature, and moisture, you help your seedlings grow strong. This way, they won’t be weak or stretched.
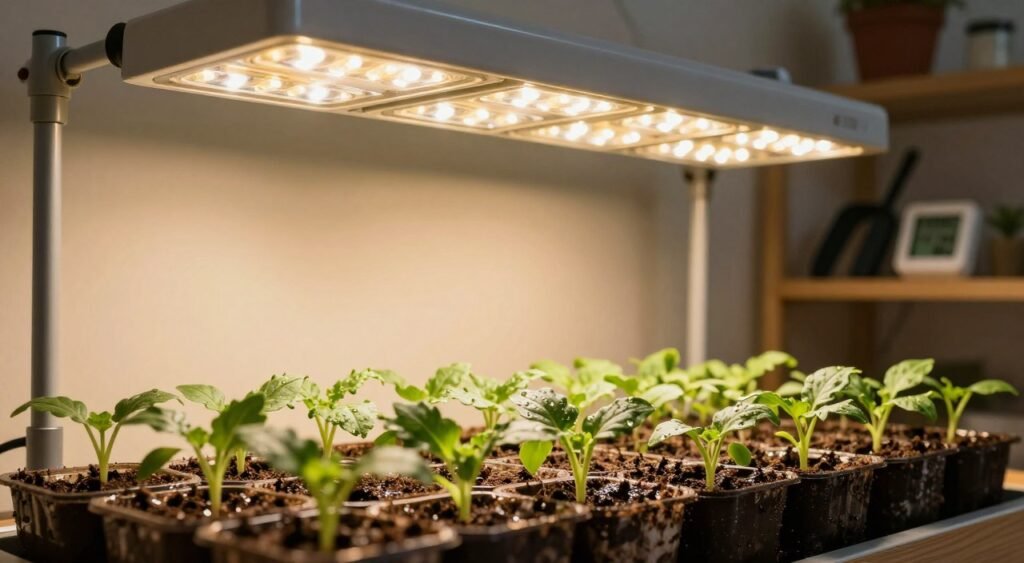
Providing Adequate Light with Grow Lights
Most windows don’t give enough light for plants to grow well. Without enough light, seedlings become leggy, reaching for the sun.
Grow lights help mimic natural daylight. Place them close to your plants. As they grow, move the lights up to keep them close.
This keeps your plants small and sturdy in their early days.
Maintaining Consistent Soil Temperature
Seeds don’t like temperature changes. They need a warm, stable place to grow. A seedling heat mat helps keep the soil warm from below.
Check what temperature your plants like. Some need it cooler, others warmer. Use a thermometer to keep the soil at the right temperature.
This will help your plants grow better.
Watering Techniques to Prevent Damping Off
Too much water harms young plants. Preventing damping off, a disease that kills seedlings, means careful watering. Keep the soil moist but not too wet.
Water from the bottom up. Use a tray to water your containers. This keeps the soil moist without getting the leaves wet. Good air circulation also helps. Use a small fan to keep air moving.
The Art of Thinning and Pricking Out Seedlings
When seeds start to grow, it’s important to manage their space. Flower seed germination is exciting, but too many plants can slow them down. Make sure each seedling gets enough light, air, and food.
When to Thin Seedlings
Start thinning seedlings when they get their first «true leaves.» These are the leaves after the seed leaves. Waiting too long can hurt the roots when you try to separate them.
Choose the strongest plants in each group. Gently remove the weaker ones. This helps the stronger plants grow better.
Techniques for Safe Pricking Out
Pricking out means moving seedlings to bigger spaces. Use a small tool, like a pencil, to lift them from below. Never pull a seedling by its stem because it can hurt the plant.
Hold the plant by its leaves instead. If you accidentally tear a leaf, the plant might still recover. But, a crushed stem is usually fatal. This careful method helps your seedlings thrive.
Moving Seedlings to Larger Containers
After pricking out, move seedlings to bigger pots. Fill the new pots with good potting mix. Make a hole big enough for the roots without bending them.
Put the seedling in the hole and press the soil around it gently. Keep the soil moist to help the roots settle. With the right care, your seedlings will grow strong and ready for the garden.
Hardening Off Your Seedlings Before Planting
It’s time to move your plants from the windowsill to the garden. They look good but are not ready for the outdoors. Hardening off plants is key to their success.
The Importance of Acclimatization
Indoor plants don’t get the sun, temperature changes, or air they need outside. Their cell walls are soft and not strong. Acclimatization helps them get stronger.
Without this step, plants might get sick or die after being moved. Slowly getting used to the outdoors helps them grow strong.
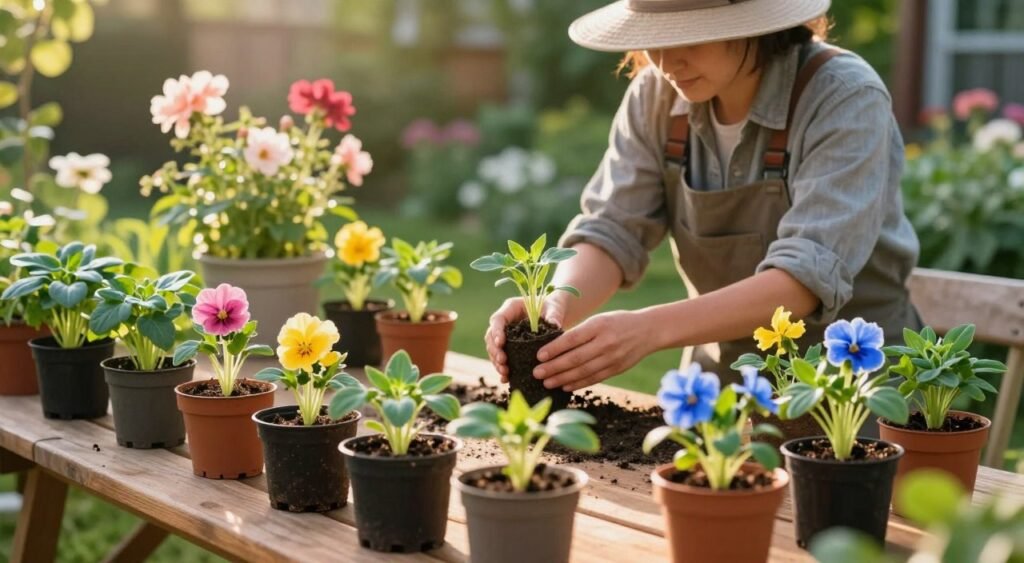
Creating a Hardening Off Schedule
Make a plan for hardening off. It takes seven to ten days. Start with a few hours in a shaded spot on the first day.
Each day, increase the time outside and sun exposure. By the end, they’ll be ready for full outdoor life.
| Day | Sun Exposure | Time Outdoors |
|---|---|---|
| 1-2 | Full Shade | 1-2 Hours |
| 3-4 | Dappled Light | 3-4 Hours |
| 5-6 | Morning Sun | 6-8 Hours |
| 7+ | Full Exposure | Full Day |
Protecting Seedlings from Wind and Sun
Watch out for wind and sun during hardening. Wind can break stems or dry out soil too fast. Choose a spot that’s safe from strong winds.
Sun can be too much for plants used to grow lights. If leaves droop or turn pale, move them to shade. Patience is important for their outdoor success.
Transplanting Seedlings into the Garden Bed
It’s time to move your seedlings outside. After hardening off plants, they’re ready for the outdoors. This step is key for them to grow well in their new home.
Preparing the Soil for New Transplants
First, make sure the soil is good for your plants. Remove weeds and debris. Add organic matter like compost to make the soil better.
Good soil holds water and nutrients for your plants. If your soil is too dry or wet, add organic stuff. This makes a welcoming foundation for your plants.
Digging the Perfect Planting Hole
When planting, dig a hole twice as wide as the seedling’s roots. Make it deep enough so the roots sit level with the soil. Don’t bury the stem too deep to avoid rot.
Take the plant out of its container by squeezing the sides. If the roots are tangled, carefully tease them out. Put the plant in the hole and fill with good soil.
Watering and Mulching After Planting
Water your plants well after planting. This settles the soil and keeps the roots moist. Keep the soil moist for a few weeks as they settle.
Use organic mulch like straw to keep the soil moist and weed-free. Keep it a few inches from the stems. This keeps the soil cool and helps your plants grow.
| Flower Type | Spacing Needs | Sun Requirement | Water Frequency |
|---|---|---|---|
| Sunflowers | 12-18 inches | Full Sun | Moderate |
| Marigolds | 8-10 inches | Full Sun | Low |
| Petunias | 10-12 inches | Partial/Full | High |
| Zinnias | 6-12 inches | Full Sun | Moderate |
Ongoing Care and Maintenance for Young Flowers
After transplanting seedlings, you need to focus on their daily needs. These flower gardening tips will help your flowers grow strong and healthy. Keep an eye on your garden to make sure it does well.
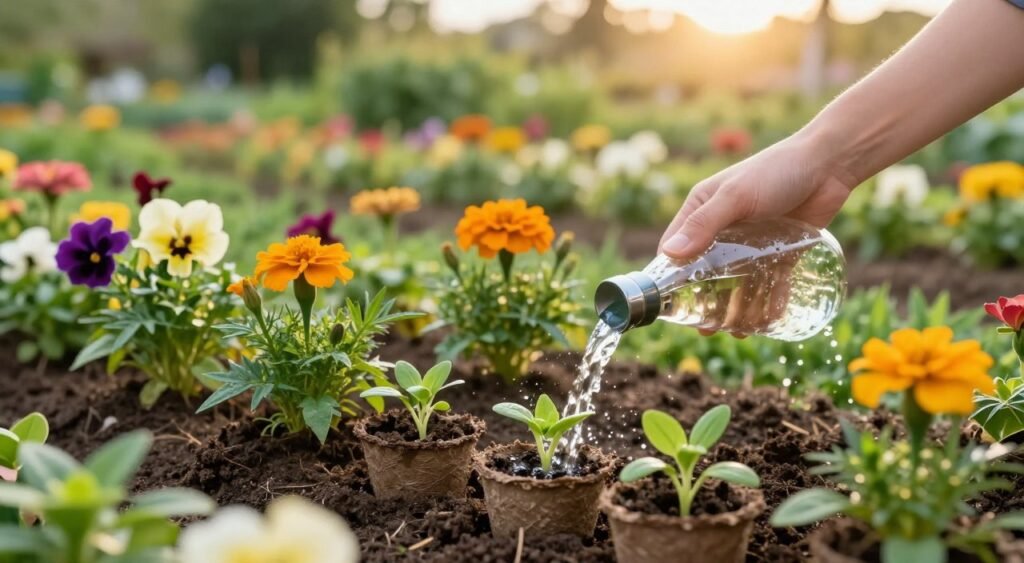
Establishing a Watering Routine
Keeping the soil moist is key for strong roots. Make sure it’s not too wet, as roots need air. Check the soil every day by sticking your finger in it.
Water at the base of the plant, not overhead. This stops diseases. Water in the morning so leaves can dry before it gets hot.
Fertilizing for Healthy Growth
Young plants use up soil nutrients fast. Use a balanced fertilizer every few weeks. Follow the package instructions to avoid harming the roots.
Choose a fertilizer that helps with leaves and flowers. If leaves turn yellow or growth slows, your plants need more food. Regular feeding helps them bloom beautifully.
Pinching Back for Bushier Blooms
Pinching back flowers makes your garden look fuller. Cut off the top leaves or stem to make the plant bushier. This leads to more blooms.
Do this when your plants are six to eight inches tall. Just pinch off the top with your thumb and finger. It might seem strange, but it’s worth it for more flowers later.
| Task | Frequency | Primary Benefit |
|---|---|---|
| Deep Watering | 2-3 times weekly | Strong root systems |
| Liquid Fertilizer | Every 2-4 weeks | Vigorous foliage growth |
| Pinching Tips | Once per season | Increased bloom count |
| Soil Inspection | Daily | Early pest detection |
Troubleshooting Common Seed Starting Problems
Even the most seasoned gardeners face problems when starting seeds indoors. It can feel frustrating to see young plants struggle. But most problems are simple to fix with a few quick adjustments.
Staying observant helps catch these issues before they harm your crop.
Identifying Leggy Seedlings
If your seedlings are tall, thin, and pale, they are «leggy.» This happens when they reach for light that’s too far or weak. Proper lighting is key to stop this stretched growth.
To fix this, move your light closer to the plants. Use grow lights for seedlings for intense, full-spectrum light. If stems are weak, start over or support them until they harden off.
Dealing with Mold and Fungal Issues
Fuzzy white growth on soil is alarming. It’s often from poor air or too much water, perfect for pathogens. Prioritizing airflow is crucial for preventing damping off, a fungal disease.
Run a small fan near your trays for better air. Make sure containers drain well and don’t stay soggy. If you see mold, scrape off the top soil and let it dry a bit before watering again.
Managing Pests in the Seedling Stage
Even indoors, tiny pests like fungus gnats or aphids can show up. Good garden pest control means keeping your area clean and removing rot. Use yellow sticky traps to catch and reduce pests.
Thinning seedlings is also key. It helps prevent pests and disease. By removing weaker sprouts, you give the rest more space, light, and air. Healthy, uncrowded plants are more resistant to indoor stresses.
Conclusion
Growing flowers from seeds connects you deeply with nature. You feel proud watching a small seed grow into a beautiful flower.
It’s not just about planting. You need to learn how to make your flowers grow well. Pinching back flowers helps them grow big and strong.
Being careful is key to a successful garden. Keeping pests away keeps your plants healthy. Watch your garden closely and act fast if you see any problems.
You can now create a beautiful garden from the beginning. Take care of your plants and watch them grow. Your garden will be full of color and life for a long time.
Share your garden with others. Post pictures of your flowers on social media. Your story will encourage others to start their own gardens.