
Creating a vibrant, thriving landscape starts with the soil beneath your feet. Many homeowners across the United States overlook a simple secret for success: consistent ground coverage. Learning how to mulch flower beds properly is the most effective way to shield your plants from harsh weather and unpredictable temperature swings.
When you apply a fresh layer of organic material, you do more than just improve your curb appeal. This essential practice suppresses stubborn weeds while locking in vital moisture for your thirsty roots. Mulching acts as a protective blanket, ensuring your garden remains a lush sanctuary throughout the entire season.
By mastering these basic techniques, you gain the confidence to transform your outdoor space into a healthy, flourishing retreat. Let’s dive into the simple steps that will keep your beautiful garden looking its absolute best year after year.
The Benefits of Mulching Your Flower Beds
Healthy soil is key for beautiful flower beds. Mulching adds a layer of organic material. This gives plants nutrients as it breaks down.
Using organic mulch benefits makes your garden thrive. It’s easy to keep your garden looking great with less work.
Improving Soil Health and Moisture Retention
Mulching keeps water in the ground. It stops evaporation, keeping soil moist even in hot weather. This means you don’t have to water as much.
As it breaks down, mulch adds nutrients to the soil. This makes the soil better for roots to grow. Consistent moisture levels help plants stay healthy and happy.
«The soil is the great connector of lives, the source and destination of all. It is the healer and restorer and resurrector, by which disease passes into health, age into youth, death into life.»
Suppressing Weed Growth Naturally
Weeds are a big problem for gardeners. But you can fight them without chemicals. Mulch blocks sunlight, stopping weeds from growing.
This method saves you from pulling weeds. It keeps your garden clean and healthy. It’s a smart, sustainable way to keep your garden looking good all year.
Regulating Soil Temperature for Plant Longevity
Plants don’t like extreme temperatures. Mulch keeps the soil at a good temperature. It’s cool in the day and warm at night.
This helps roots grow strong. It keeps plants healthy and makes them come back year after year. Consistent temperature control is what makes a garden great.
Choosing the Right Mulch for Your Garden
Finding the best mulch for flower beds is important. It must look good and help your soil. The right mulch keeps water in and nutrients flowing.
Organic Mulch Options and Their Advantages
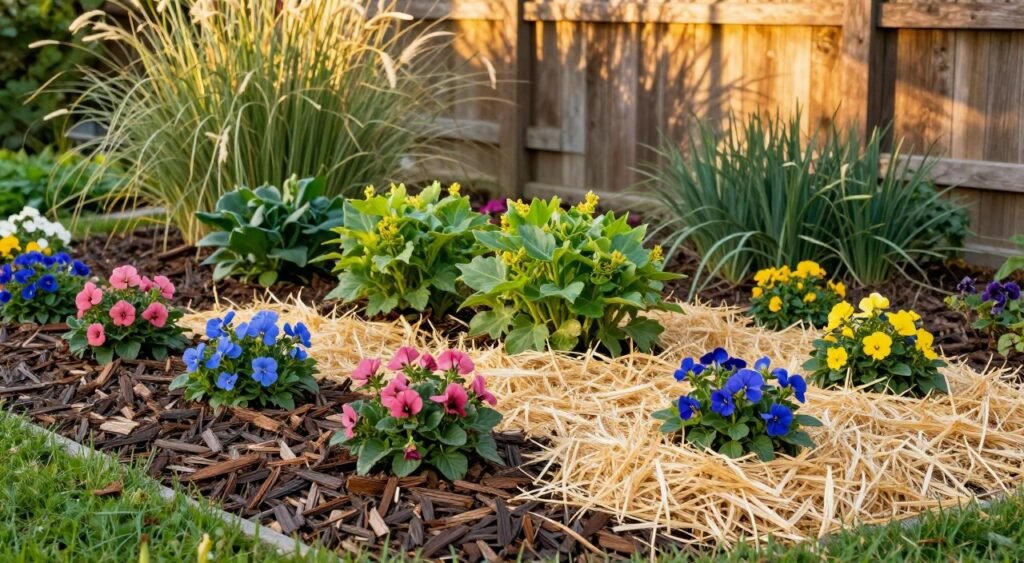
Organic mulch is a top pick for gardeners. It makes the soil better as it breaks down. It adds nutrients to the soil, helping your flowers grow well.
- Wood Chips: Keeps water in and stops weeds in big beds.
- Pine Needles: Great for plants that like acid, like azaleas and hydrangeas.
- Compost: Feeds your plants and makes the soil better.
Inorganic Mulch Materials and When to Use Them
For a lasting solution, inorganic mulch is good. Gravel or landscape fabric look clean and stop weeds. They’re perfect for paths or xeriscaping.
These materials are ideal for low-maintenance areas. But, they don’t add organic matter to the soil. So, you might need to fertilize more often.
| Material | Best Use Case | Key Benefit |
|---|---|---|
| Gravel | Rock Gardens | Excellent Drainage |
| Landscape Fabric | Under Decorative Stones | Weed Prevention |
| Rubber Mulch | Play Areas | Long-Lasting Durability |
Matching Mulch Types to Your Specific Plant Needs
To find the best mulch for flower beds, think about your plants. Moisture-loving plants do well with shredded bark. Succulents like gravel because it drains fast.
Check your soil type before choosing mulch. If your soil is clay, organic mulch is key. For sandy soil, a thick organic mulch helps keep water in. This keeps your garden green all summer.
How to Mulch Flower Beds Properly
Getting your garden ready for mulch is more than just picking up bags and enjoying the sun. To mulch flower beds right, you need to set up your space and get the right tools. Having a plan helps keep your project smooth and easy from start to end.
Gathering Your Essential Gardening Tools
Having the right gardening tool essentials saves time and keeps your back safe. You don’t need a lot of expensive tools for a neat look. Focus on these key items:
- Wheelbarrow: Great for moving heavy mulch around your yard.
- Pitchfork: Good for spreading mulch evenly and breaking it up.
- Sturdy Rake: Use it to make the surface smooth for a professional look.
- Hand Trowel: Needed for carefully placing mulch around plants.
Safety Precautions for Handling Mulch
Mulching is rewarding but must be done safely. Always wear strong gardening gloves to avoid splinters or sharp bits. If you’re sensitive to dust, wear a mask when using dry mulch.
When lifting heavy bags, bend at your knees to protect your back. These small steps help you enjoy mulching without getting hurt.
Understanding the Ideal Timing for Application
The best time to mulch is in early spring. This is when the soil starts to warm up but before weeds grow. Mulch keeps the soil moist and stops weeds all season.
Mulching too early in winter can freeze the soil. Waiting too long in summer misses the best time for keeping moisture. Choose a mild day to mulch for the best results. This way, your plants will grow well all year.
Calculating How Much Mulch You Need
Running out of supplies can ruin a weekend gardening project. By planning ahead, you can get the best mulch for flower beds in one trip. This saves time, money, and the hassle of extra trips.
Measuring Your Flower Bed Square Footage
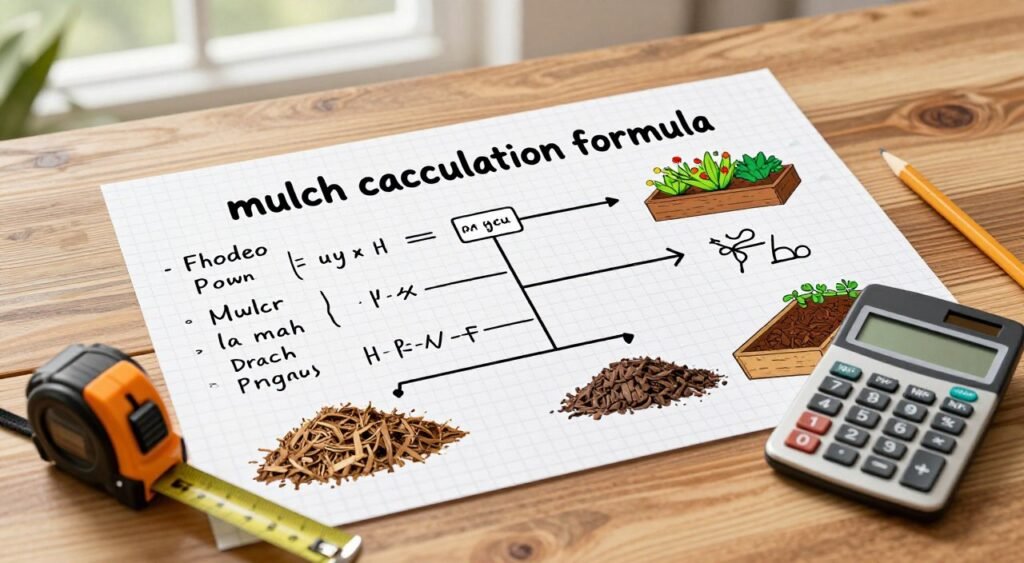
To start, figure out your garden bed’s total area. For rectangular beds, multiply length by width. For irregular shapes, break them into smaller parts, calculate each, and add them together.
«Measure twice, order once; a little math in the garden saves a lot of sweat in the sun.»
Determining the Correct Depth for Your Mulch
It’s key to follow a good mulch depth guide. Most say to use two to three inches thick. This keeps weeds away while letting water and nutrients reach the soil.
Too little mulch won’t protect your plants. Too much can harm roots and hold too much water. Stick to two to three inches for the best outcome.
Using the Cubic Yard Formula for Bulk Orders
For bulk orders, use the mulch calculation formula. First, multiply your bed’s square footage by the depth in feet. Then, divide by 27 to find cubic yards.
If math is hard, many suppliers have online calculators. Always add a bit extra for settling or uneven ground. Having extra is better than not enough when finishing your project.
Preparing Your Flower Beds for Mulching
A beautiful garden starts long before you spread the first bag of mulch. Taking the time to prepare your flower beds well keeps your garden healthy and vibrant all season.
Clearing Debris and Existing Weeds
First, remove dead leaves, twigs, and other organic debris from the soil. This is key for stopping weeds from growing under your mulch.
Make sure to pull out any weeds by their roots. If you don’t, they might grow back and push through your mulch, making more work for you.
Edging Your Beds for a Clean Look
Creating a clean border between your flower beds and the lawn is important. Use the right tools, like a half-moon edger or sharp spade, to make this easier.
«A well-edged bed is the frame that turns a simple garden into a masterpiece of landscape design.»
A clean edge looks nice and keeps mulch in the bed. It stops mulch from getting on your grass when it rains a lot.
Watering and Fertilizing Before You Begin
Don’t forget to give your soil attention before covering it. A balanced fertilizer now helps your plants grow well under the mulch.
Also, watering your beds deeply is crucial for keeping soil moist. This makes your plants happy and hydrated, even in hot summer.
Applying Mulch Like a Professional
Turning your garden into a pro-looking space starts with mulch application. Follow professional mulching steps for a tidy and healthy garden. A gentle touch and detail matter a lot.
The Proper Technique for Spreading Mulch
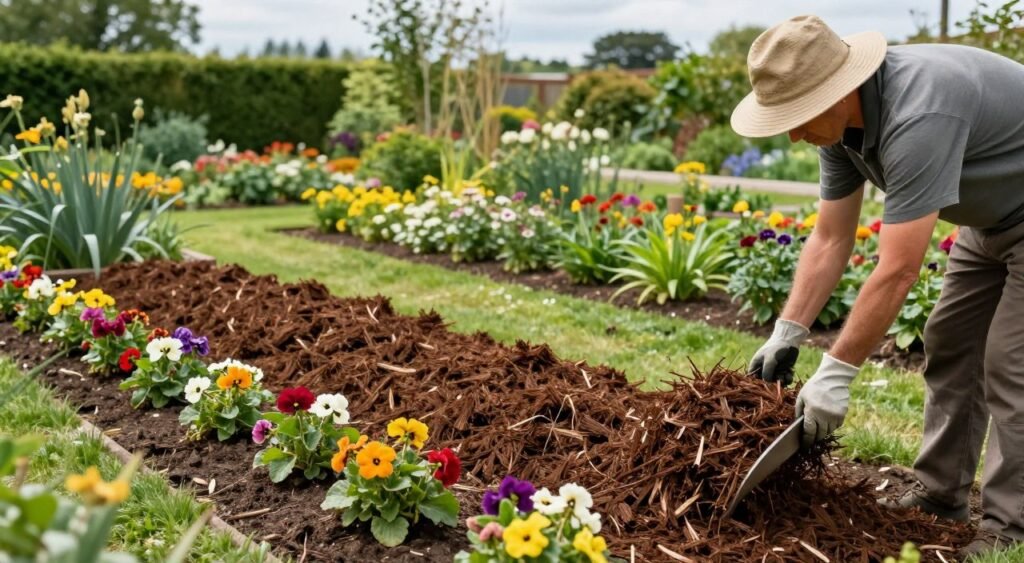
Begin by raking the mulch evenly over your flower bed preparation area. Aim for two to three inches to keep soil moist. Work in small areas, moving backward to avoid footprints.
Avoiding the Volcano Mulching Mistake
Don’t pile mulch high against tree trunks or shrub stems. This «volcano mulching» traps moisture and attracts pests. Preventing mulch mistakes like this keeps your plants healthy. Pull the mulch back a few inches to let bark breathe.
Ensuring Even Coverage Around Plant Bases
For a neat look, make sure mulch is even across the bed. Use hands or a small trowel to tuck it around perennials. This creates a nice contrast and protects roots.
| Feature | Professional Method | Amateur Method |
|---|---|---|
| Base Clearance | 2-3 inches from stem | Piled against stem |
| Layer Depth | Consistent 2-3 inches | Uneven or too thick |
| Visual Finish | Smooth and level | Clumpy and messy |
| Plant Health | Promotes airflow | Risk of rot |
Common Mulching Mistakes to Avoid
Even the most dedicated gardeners can accidentally harm their plants by making simple errors during the process. Preventing mulch mistakes is a vital part of maintaining a healthy and thriving landscape throughout the year. By being aware of these common pitfalls, you ensure your garden remains a vibrant sanctuary.
Applying Mulch Too Thickly
It is tempting to pile on extra material, but more is not always better. Following a proper mulch depth guide is essential to keep your plants breathing. When you apply mulch deeper than three inches, you risk suffocating the root system.
Excessive depth prevents vital oxygen from reaching the soil and blocks water from soaking in. This creates a damp environment that encourages root rot and invites unwanted pests. Always aim for a consistent layer that protects the soil without burying your plants.
Using Dyed Mulch Near Edible Plants
Many gardeners enjoy the aesthetic appeal of colored mulch, but you should be cautious about where you place it. Dyed products often contain synthetic chemicals or recycled wood waste that may not be safe for your vegetable patch. These additives can leach into the soil and potentially affect your harvest.
For your vegetable garden, it is much safer to stick with natural, organic options like straw, compost, or untreated wood chips. These materials enrich the soil as they break down, providing nutrients that your edible plants crave. Always prioritize safety when choosing materials for your food crops.
Neglecting to Refresh Old Mulch Layers
Many people assume that once mulch is down, their work is finished for the season. But mulch naturally degrades and compacts over time, losing its ability to suppress weeds and retain moisture. If you fail to refresh these layers, you lose the protective benefits that your garden needs.
We recommend checking your beds every spring to see if the existing layer has become thin or matted. Simply raking the old material to fluff it up can help, but adding a fresh, thin top-up layer is often necessary. Consistent maintenance ensures your garden stays insulated and healthy all year long.
Maintaining Your Mulched Beds Throughout the Season
After mulching, you might think you’re done. But, taking care of your garden is key. Simple garden maintenance tips keep your flower beds looking great. This care keeps your plants happy and healthy.
Monitoring for Pests and Fungal Issues
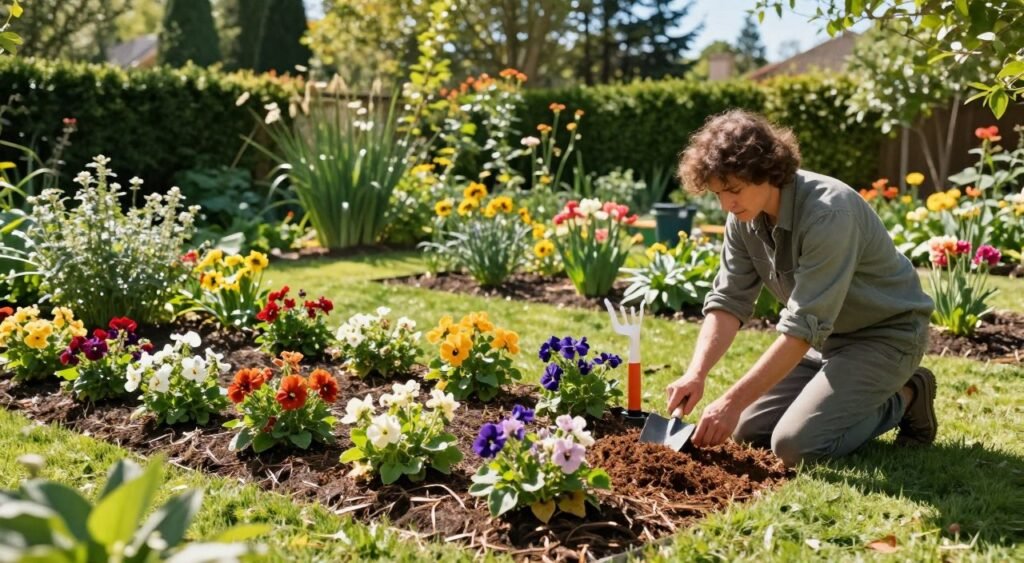
Check your mulch often to keep it safe from pests. Look for slugs, snails, or insects under the mulch. These healthy soil practices help stop damage to your flowers.
White threads might mean fungus. But, if the mulch smells bad or looks slimy, it’s too wet. Remove or turn over the wet mulch fast to fix it.
Raking and Fluffing to Prevent Compaction
Mulch can settle and block air and water. Regular seasonal garden care by raking keeps it loose. This lets your plants breathe better.
Fluff the top inch of mulch every few weeks with a rake. It makes your garden look neat and fresh all summer.
When to Add a Top-Up Layer
Mulch breaks down and gets thinner over time. Keep it two to three inches deep to fight weeds and keep moisture. If you see soil, it’s time for more mulch.
Adding a thin layer of mulch in mid-season makes your garden look better. Add just enough to keep the right depth. This keeps your garden looking good until the season ends.
Seasonal Mulching Tips for Different Climates
You can master seasonal garden care by adjusting your mulch layers. Every region has its own challenges. Tailoring your application is key for plant health.
By watching your local weather, you can give your garden the right support. This helps it thrive.
Protecting Perennials During Harsh Winters
When it gets cold, your main goal is winter plant protection. Use a thick layer of organic mulch like shredded bark or pine needles. It keeps the soil warm.
This stops the soil from freezing and thawing too much. It can harm plants and damage their roots.
Wait until the ground is frozen before adding more mulch. Consistency is key to keep plants safe until spring. When it’s safe, remove some mulch to let the soil warm up.
Keeping Roots Cool in Scorching Summer Heat
In hot summers, focus on keeping the soil moist. A two to three inch mulch layer keeps the soil cool. This helps prevent heat stress in plants.
It also means you don’t have to water as often. Always spread mulch evenly to protect against the sun. This keeps plants hydrated and happy.
Adjusting Mulch Strategies for Rainy Seasons
Too much water can harm your garden if it doesn’t drain well. In rainy seasons, don’t pile mulch too high against plants. It can cause water to stay too long.
This can lead to fungal problems or root rot. If mulch stays wet, use a coarser material. Proper drainage is crucial for plant health. Keep mulch thinner in low spots to let water drain.
Conclusion
You now know how to make your garden beautiful for a long time. Learning how to calculate mulch helps you buy just the right amount. This saves you time and money and stops waste.
By taking good care of your garden, you make it strong for all plants. Protecting plants in winter is key to keep them safe from cold and wind. This keeps your soil healthy and your garden looking great all year.
Be proud of your garden. Your hard work will make it grow strong and healthy. Start your next project knowing your garden is ready for success.